
10 Habits to create accessible content
Newsletters, presentations, online classes, meetings, workshops, and more forms of digital communication and information sharing have soared in use during the COVID-19 pandemic. The shift to digital work has allowed business continuity during this difficult time while we share even more information electronically. One of our key learnings has been the importance of accessible digital materials.
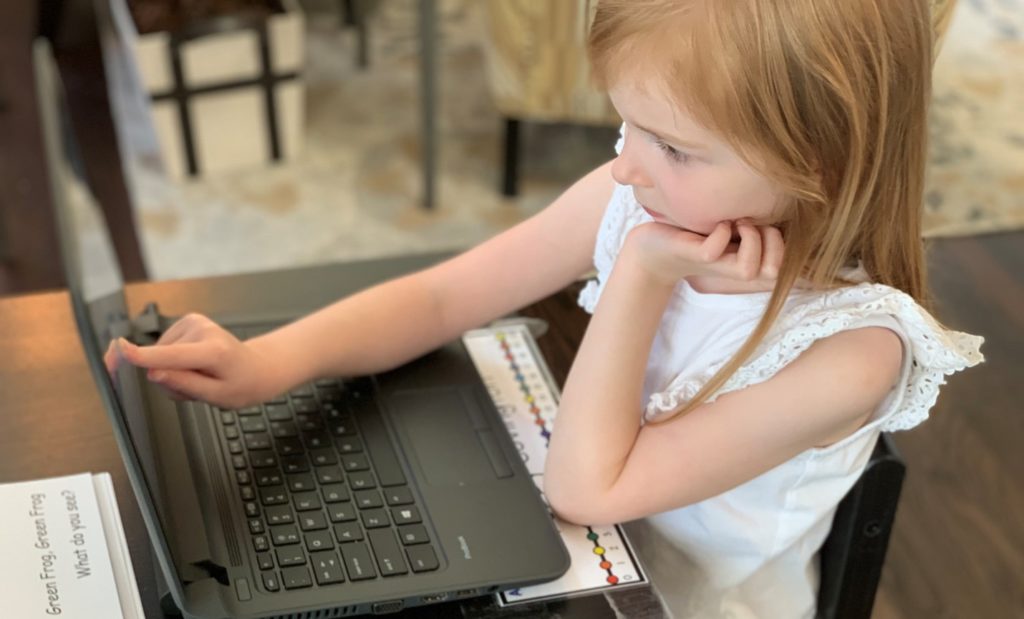
Over 70% of disabilities are invisible. You may not know if someone in your distribution list or team has a disability. When you build and share accessible content, you empower people with disabilities at home, work and school, especially virtual school. As a father of a kindergartener, I see firsthand the challenges remote learning introduces to families. For those with disabilities, both students and parents, there is an additional layer, as every piece of content needs to be accessible.
I believe it is possible to create an inclusive workplace and school environment, but it takes awareness and planning.
There are tools to help you create accessible content and they’re easy to use! The M365 Accessibility Checker is designed to help everyone create more accessible content. It’s easier and more efficient to create an accessible document from the beginning than fix at the end so these tools are best used as you write emails, Word docs, PowerPoint decks, or create an Excel table. Accessible content is not just an imperative for people with disabilities but also makes it easier for everyone to consume.
My Top 10 Habits to Become a Master Accessible Author.
- Accessibility Checker. In the Review tab next to the Spellcheck button is a magic Check Accessibility button! You can use it to check your emails and documents for accessibility issues before sending or just ensure it runs in the background. Just make sure the check box “keep accessibility checker running while I work” at the bottom of the Check Accessibility pane is selected. You should then start noticing a status bar notification that informs you when it’s time to investigate an issue.

- Use Styles headings in Word and OneNote so that people who use screen readers can quickly navigate the document. Use Styles as opposed to font size, font face, and bold commands to create the appearance of headings. Styles don’t just have accessibility benefits—they also make the navigation pane and table of content features more useful.
- Add descriptive text to images. Descriptive text is invaluable for screen reader users. Here is a great article about how to write good alt text. Descriptive alt text also makes images easier to search and find. Take the time to mark images and objects as decorative if they are visually interesting but not informative.

- Tables are important to get right. Use the Table Style Options Header Row and First Column commands to correctly identify if the table has column and row headers. This will help navigation for screen reader users.
- Color contrast matters. Consider people with low vision. Make accessible text colors that stand out against the background color and avoid using small fonts.
- Avoid exclusively using color to convey information. I often use font icons to supplement a color choice.
- Ensure every slide has a title and slide contents can be read in the order
- Use the Excel Table command if you have tabular data. It makes content more accessible to screen readers and provides a bunch of one-click features for sorting and filtering. Don’t forget to make your sheet names unique names and remove blank sheets.
- Use the bullets and numbers features to break up text. This helps reduce the cognitive load from reading a document. It also makes it much easier for screen reader users to process information.
- Video captions. Captions are important for videos and there are tools to make them easier to provide to users. Many apps and services, such as Microsoft Stream, now utilize AI to provide auto captions; best practice is to make a quick editing pass for accuracy. Captions help make your content available to people who are deaf or hard of hearing as well as situations where sound is not available. Videos with captions are more discoverable through search and generally improve average watch time. Pro tip: you can also turn on auto captions in PowerPoint to provide the audience with live captions or subtitles translated to another language.
Finally, the best practices above are equally relevant for people that create web content. Recently, my wife has been working on a school PTA website. I suggested she run Accessibility Insights to check the inclusivity of the content for people with disabilities. She was able to quickly find and fix multiple color contrast issues. If you create web content, Accessibility Insights helps developers find and fix accessibility issues in web apps, sites, and Windows apps. It’s an open source tool that makes it easy for developers to address the most common accessibility errors in under 5 minutes and assess websites for WCAG 2.1 AA.
Want to learn more? Check out the content on our support site linked from the Make your content accessible to everyone with the accessibility checker.